
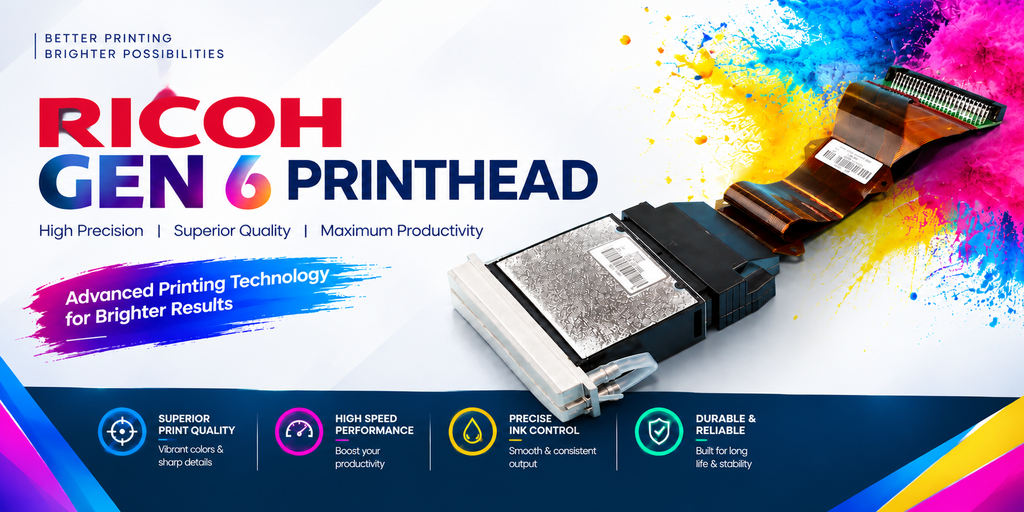
How to Set Up Color Profiles with Ricoh Gen6 Print Heads
Achieving accurate and consistent colors is essential for professional digital printing. When working with a Ricoh Gen6 print head, proper color profiling can help improve color accuracy, print consistency, and overall production quality.
An ICC color profile helps translate colors from your design software to the actual output of your UV printer. This is especially important when printing on different materials such as acrylic, wood, glass, metal, PVC, vinyl, and other substrates.
In this guide, we’ll explain how to set up color profiles with Ricoh Gen6 print heads, covering printer preparation, RIP software settings, ICC profiles, linearization, ink limits, white ink configuration, testing, and troubleshooting.
What Is a Color Profile?
A color profile is a set of data that tells different devices how to interpret and reproduce colors. In a professional printing workflow, color can be handled differently by your monitor, design software, RIP software, printer, inks, and printing material.
An ICC profile helps maintain more predictable color reproduction throughout this workflow.
For example, the same artwork may produce different results when printed on glossy acrylic, vinyl, or MDF. A properly configured profile helps compensate for these differences and provides more consistent results.
Why Is Color Profiling Important for Ricoh Gen6 Printing?
The Ricoh Gen6 print head provides precise and high-quality inkjet performance, but the print head is only one part of the overall color-management process.
The final appearance of a print can be influenced by several factors:
UV Ink Type
Different UV ink formulations can produce different levels of color density, saturation, and curing performance. Changing ink may therefore require validating or creating a new color profile.
Printing Substrate
Materials such as acrylic, PVC, glass, wood, metal, and vinyl have different surface properties. Their absorption, reflectivity, texture, and finish can affect the appearance of printed colors.
Ink Configuration
UV printers may use configurations such as CMYK, CMYK + White, or CMYK + White + Varnish. Correct RIP settings are required to manage each ink channel properly.
Print Resolution and Pass Count
Resolution, pass count, and print speed can affect ink deposition and color density. Changing these settings may also change the appearance of the final print.
UV Curing
UV LED curing plays an important role in the final appearance and performance of UV-printed ink. Consistent curing conditions are important when profiling a printer.
Step-by-Step Guide to Setting Up Color Profiles with Ricoh Gen6
The exact procedure may vary depending on your UV printer model, RIP software, ink system, and substrate. However, the following workflow provides a practical starting point.
Step 1: Prepare Your Ricoh Gen6 UV Printer
Before creating or applying an ICC profile, make sure the printer is operating correctly.
Check the following:
- Ricoh Gen6 print head condition
- Nozzle performance
- Ink levels
- Ink circulation
- Negative pressure
- UV LED curing system
- Print-head alignment
- Media height
- Media positioning
A poorly maintained print head can produce inconsistent ink deposition, which can make accurate color profiling difficult.
Perform a Nozzle Check
Start with a nozzle check before calibration.
Look for:
- Missing nozzles
- Broken or irregular lines
- Uneven ink output
- Incorrect color channels
If the nozzle check shows problems, complete the necessary maintenance before proceeding with color profiling.
Step 2: Select the Correct Ink and Substrate
Color profiling should be performed using the same UV ink and printing material that will be used during production.
Depending on your applications, you may need different profiles for:
- Glossy vinyl
- Matte vinyl
- Acrylic
- PVC board
- MDF
- Glass
- Metal
- Canvas
- Flexible media
Why Are Media-Specific ICC Profiles Important?
A profile created for glossy acrylic may not produce the same results on matte MDF.
Different substrates have different:
- Surface textures
- Absorption levels
- Whiteness
- Gloss levels
- Reflective properties
Creating media-specific ICC profiles for UV printing can therefore help achieve more consistent and predictable output.
Step 3: Configure Your RIP Software
Your RIP software plays a central role in the color-management workflow.
Depending on the RIP solution, look for options such as Color Management, ICC Profile, or Color Settings.
Important settings may include:
- Input color profile
- Output ICC profile
- Rendering intent
- Ink limit
- Total ink coverage
- Linearization
- Channel settings
- White ink settings
- Varnish settings
Always use settings that are compatible with your specific printer, ink, substrate, and RIP workflow.
Step 4: Select the Appropriate Input Color Space
The input color space determines how the RIP software interprets the artwork.
Common color spaces include:
RGB
RGB is commonly used for photographs, digital artwork, and screen-based designs.
CMYK
CMYK is widely used in professional printing workflows.
Adobe RGB
Adobe RGB offers a wider color gamut and is commonly used for professional photography and certain design workflows.
sRGB
sRGB is a common color space for digital images and web-based content.
The most important consideration is to maintain a consistent color-management workflow from the original design through the RIP software and printer.
Step 5: Create or Select the Correct ICC Profile
For the most predictable results, an ICC profile for a Ricoh Gen6 UV printer should be based on the actual production combination:
Printer + Ricoh Gen6 Print Head + UV Ink + Substrate + RIP Settings
If your printer manufacturer or ink supplier provides a tested ICC profile, you can begin by using that profile.
For a custom profile, the general process involves:
- Print a standardized color test chart.
- Measure the printed color patches using a spectrophotometer.
- Analyze the measured color values.
- Generate a device-specific ICC profile.
- Install the profile in the RIP software.
- Perform test prints.
- Fine-tune the profile when necessary.
This process allows the RIP software to better understand how your printer reproduces different colors.
Step 6: Perform Linearization
Linearization is an important stage of professional color management.
It establishes a predictable relationship between the digital input value and the amount of ink deposited by the printer.
For example, a 50% digital tone should produce a controlled and repeatable tonal result rather than an unexpectedly dark or light output.
Proper linearization can help improve:
- Gray balance
- Color consistency
- Tonal transitions
- Ink efficiency
- Print repeatability
Many RIP systems include a built-in linearization wizard to guide you through this process.
Step 7: Set the Total Ink Limit
Using excessive amounts of ink does not necessarily produce better colors. Too much ink can result in:
- Incomplete or inconsistent curing
- Ink pooling
- Color contamination
- Banding
- Loss of fine detail
- Increased ink consumption
The total ink limit controls the maximum combined amount of ink deposited in a specific area.
The appropriate limit depends on factors such as:
- UV ink formulation
- Printer configuration
- Ricoh Gen6 setup
- Substrate
- Print speed
- UV curing performance
The objective is to achieve the required color density while maintaining proper curing, detail, and print stability.
Step 8: Configure White Ink
If your Ricoh Gen6 UV printer uses a CMYK + White configuration, white ink requires additional calibration and RIP settings.
White ink can be used for:
- Underprinting
- Overprinting
- Spot white
- Layered printing
- Flood white
White ink is particularly important when printing on transparent substrates such as acrylic or glass because it can significantly affect the appearance and contrast of CMYK colors.
White Ink Calibration
Check that:
- White ink circulation is functioning correctly.
- White ink nozzles are firing properly.
- White ink density is appropriate.
- White layers are correctly configured in the RIP.
- The correct white ink settings are selected.
Incorrect white ink settings can influence the appearance of the colors printed above the white layer.
Step 9: Configure Varnish When Required
Depending on the printer and ink configuration, varnish may also be available.
Varnish can be used to create:
- Gloss effects
- Spot effects
- Textured finishes
- Decorative highlights
- Premium surface effects
If varnish is part of your production workflow, configure the varnish channel according to your printer and RIP software requirements.
Step 10: Print a Color Test Chart
Once your settings are configured, print a test chart using the same conditions that will be used for production.
Keep these factors consistent:
- Printer
- Ricoh Gen6 print-head configuration
- UV ink
- Substrate
- Resolution
- Pass count
- Print speed
- UV curing settings
- RIP settings
Changing these parameters after profiling can result in different color output.
Step 11: Evaluate the Printed Colors
Evaluate your test print under consistent lighting conditions.
Depending on your application, compare the results with:
- Approved samples
- Brand colors
- Pantone references where applicable
- Previous production prints
- Customer-approved proofs
Consistent lighting is important because different lighting environments can change the way colors are visually perceived.
Step 12: Fine-Tune the ICC Profile
If the output does not match your target colors, further adjustments may be required.
If Red Looks Too Orange
Review the color separation, ink balance, and output profile.
If Blue Looks Too Purple
Check the CMYK balance and selected output profile.
If Black Looks Washed Out
Review black generation, ink limits, and related RIP settings.
If Colors Are Too Dark
Check the ink limit, linearization, and rendering settings.
If White Ink Looks Uneven
Inspect white ink circulation, nozzle performance, and white-layer settings.
Make adjustments systematically and test after each significant change rather than modifying multiple settings at once.
Best Practices for Ricoh Gen6 Color Management
Following a consistent workflow can help maintain reliable color reproduction.
1. Maintain the Print Heads
Regular maintenance helps maintain consistent inkjet performance and color output.
2. Keep Your Ink Consistent
Changing UV ink brands or formulations can affect color reproduction. Validate your existing profile whenever the ink system changes.
3. Create Profiles for Different Materials
When substrates have significantly different surface characteristics, use separate profiles for more predictable results.
4. Keep RIP Settings Consistent
Changes to resolution, pass count, print speed, or ink limits can influence color output.
5. Maintain Stable Printing Conditions
Temperature and humidity can affect printer and ink performance. Maintaining a stable production environment can help improve consistency.
6. Recalibrate When Necessary
Consider checking or updating your profile when you:
- Change UV ink
- Change substrate
- Modify major printer settings
- Replace important components
- Change RIP software
- Change print modes
- Notice color variation
Common Ricoh Gen6 Color Problems and Solutions
Colors Are Too Dark
Possible causes include:
- Excessive ink limits
- Incorrect ICC profile
- Incorrect linearization
- Incorrect rendering settings
Start by checking the output profile and ink-limit settings.
Colors Are Too Light
Possible causes may include:
- Insufficient ink density
- Incorrect ICC profile
- Incorrect media setting
- Low ink deposition
Verify that the correct substrate and output profile have been selected.
Colors Vary Between Prints
Color variation can be caused by:
- Print-head condition
- Ink circulation
- Environmental changes
- Different substrates
- Different RIP settings
Keeping production conditions consistent is important for repeatable results.
White Ink Looks Uneven
Check:
- White ink circulation
- Nozzle condition
- White ink density
- Ink separation
- White-layer settings in the RIP
Prints Show Banding
Banding can be associated with:
- Nozzle issues
- Printer calibration
- Print-head alignment
- Pass settings
- Media movement
- Ink delivery
Before changing the ICC profile, perform a nozzle check and verify the printer’s mechanical and calibration settings.
Ricoh Gen6 ICC Color Management Workflow
A simplified workflow for professional UV printing is:
Design File → Input Color Profile → RIP Software → Linearization → Ink Limit → ICC Profile → Ricoh Gen6 UV Printer → UV Curing → Final Print
Following this workflow helps create a more controlled and repeatable color-management process.
Benefits of Proper Color Profiling
A properly configured color-management workflow can help deliver:
- Improved color accuracy
- Consistent print output
- Better job-to-job repeatability
- Reduced ink wastage
- Improved brand-color reproduction
- More predictable results
- Better production efficiency
- Improved customer satisfaction
For businesses using Ricoh Gen6 UV printing technology for signage, décor, packaging, promotional products, and industrial applications, effective color management can play an important role in maintaining professional print quality.
Conclusion
Accurate color reproduction with a Ricoh Gen6 print head depends on more than simply installing an ICC profile. A reliable workflow combines proper printer maintenance, consistent UV inks, suitable substrates, RIP configuration, linearization, ink-limit control, white ink management, and regular color verification.
By establishing a consistent Ricoh Gen6 color-management workflow, UV printing businesses can achieve more predictable colors, better print consistency, efficient ink usage, and reliable results across different applications and substrates.
For professional UV printing, a properly calibrated ICC workflow is an important step toward delivering high-quality, repeatable, and professional print output.